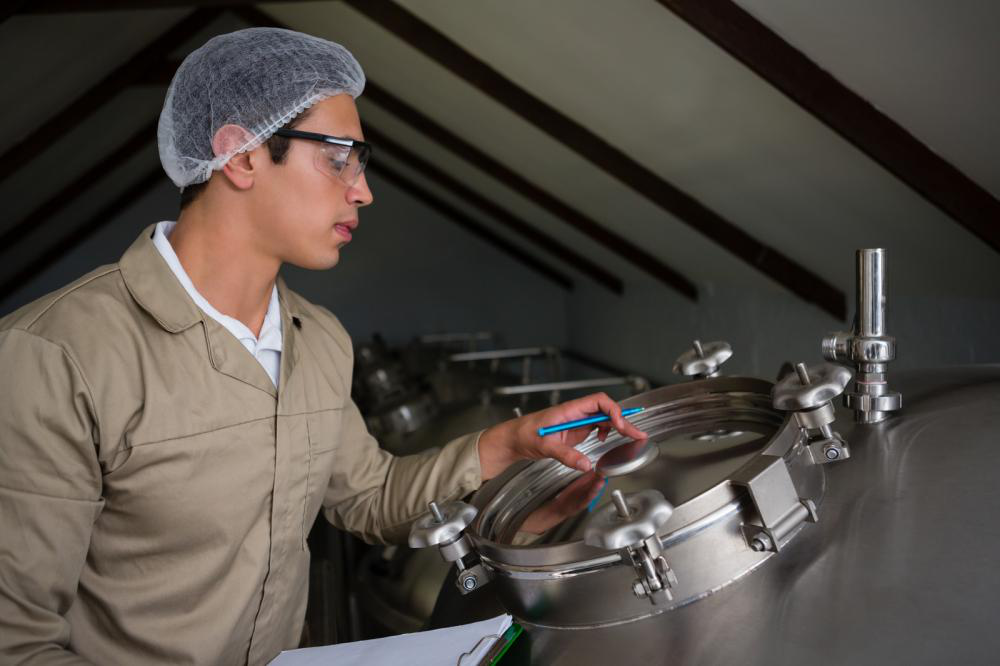
Steps Involved in FRP Storage Tank Cleaning
PVC/FRP storage tanks are not only durable, but are also lightweight and cost-efficient. FRP tanks can be installed aboveground or underground, making them a perfect solution for storing drinking water, petrol, septic, alcohol, chemicals, fire suppressing water, and much more!
According to several manufacturers, FRP storage tanks are designed to last at least forty years, but there’s a routine maintenance and cleaning caveat attached to that statement. So let’s delve deeper to understand how FRP tanks are cleaned:
First Things First
Here are some necessary precautions you must take into account before getting an FRP tank cleaned by a professional:
- Hire a certified FRP Pipe Inspections and cleaning service provider.
- Ensure that cleaners use appropriate products, according to your tank’s contents.
- Be careful with water purification for potable water, because chlorine settles in the tank and may harm your health and well-being.
- Get your tank professionally inspected for signs of algae, cracks, malfunctioning valves, exposed fibers, obvious structural issues, and impact damage.
- Wear a PPE and facemask to ensure personal protection from the contents of the tank and cleaning products.
- Turn off any electrical connections from pumps, mixers, and other mechanical tools and equipment.
- Disconnect the tank from every external source by removing nozzles, blind flanges, pipes, and valves.

- Ensure the weather is nice and dry on cleaning day. Avoid cleaning an FRP tank during harsh weather conditions.
The FRP Tank Cleaning Procedure: Step-By-Step
FRP tanks are not difficult to clean if they contain dry contents, but water, alcohol, or oil containing tanks can be very challenging to clean.
Here is a step-by-step FRP tank cleaning procedure:
- Ensure no signs of crack, mildew, malfunctioning valves, and rusty pipes inside and outside the tank.
- Clean the area around the storage tank.
- The tools must be disinfected before cleaning the tank.
- Manually scrub dirt, grime, algae, sediments, and dirt settled on the tank’s external surface.
- Use a vacuum cleaner to suck any dirt and dust.
- Open the outer valve, empty the tank, and store the contents safely to fill them back in after the tank is cleaned.
- In case the valve is located at the backside, place the tank on a slope to drain out the content.
- Use a mixture of detergent, soap, water, and appropriate cleaning liquid to scrub the tank’s surface.
- After thoroughly scrubbing and cleaning the tank’s cavity, use disinfectants such as chlorine for disinfection. The most common form of chlorine disinfectant is available as high-strength calcium hypochlorite (HSHC).
- Ensure that the amount of disinfectant used inside the tank is proportionate to its volume and surface area.
- To prepare the FRP tank for usage, drain the disinfectant solution.
Note: FRP tanks should be cleaned in an isolated area to mitigate the risk of damaging the surroundings and causing health risks due to dirty, sometimes chemical wastewater.
As an industry-leading company that’s been operating since 1976 and based in Lake City, FL, we’ve conducted numerous in-field custom fiberglass installation and repair projects with some of the largest companies in the world. We offer fiberglass tank repairs, http://hudsonfiberglass.com/safety/field welding for tank, FRP pipe repair, installation, inspections, and a range of other FRP-related industrial services.
Get in touch with us today for more information on our services.


